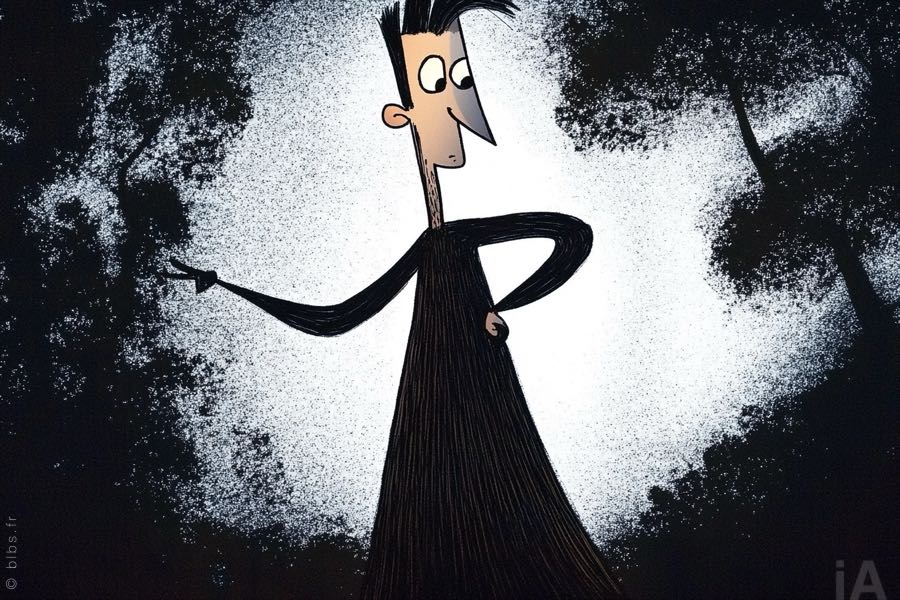
Today we’re going to go into the throes of AI-assisted creation to generate our own illustration character using AI Midjourney.
Our previous articles on creating AI-assisted illustrated posters and studio portraits with Midjourney were written using the Discord interface, which we found rather impractical.
Fortunately, since Midjourney 6, it has been possible to use a web interface directly from their site.
This is much easier to learn, and can be compared with those of other competing AIs, such as DALL-E or Copilot.
AI-assisted character design
Nous aurions pu partir de zéro, en utilisant uniquement Midjourney ou à partir d’illustrations trouvées sur internet, mais mettre au départ notre petit grain de sable dans cette machine laisse espérer naïvement que notre personnage aura une âme.
Building a character from a head
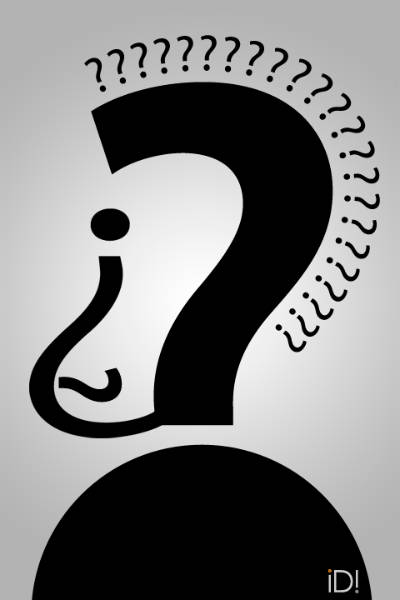
Our starting point is a character head we designed a few years ago for the impossible-design.com website, using only question marks.
The aim won’t be to reproduce it exactly (which isn’t possible with this type of drawing), but simply to give Midjourney our source of inspiration, so that the AI can then generate characters.
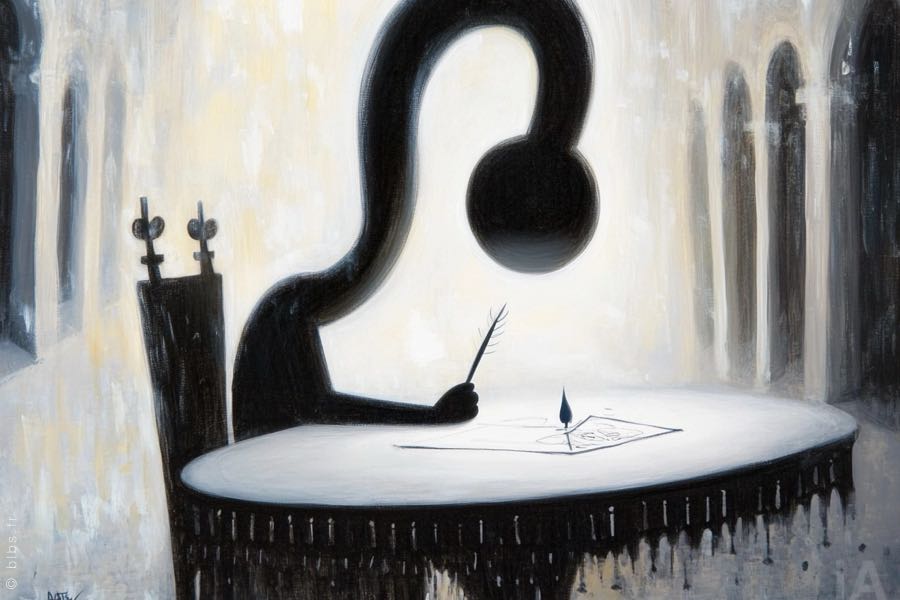
Our question mark was easily reinterpreted by the AI in the first renderings, but we’re moving towards more figurative illustrations.
In order to create our “empty” character, our prompt needs to be very simple.

The most important thing is to add our reference image to the text prompt, so that Midjourney can use it to generate the next characters.
At this stage, if you propose a more conventional design than ours, the AI will find it easier to approximate it.
3 ways to import images with Midjourney’s web interface
- Click on the “image” icon to the left of the text input field, then select an image from your computer/tablet or from images already saved via the Midjourney web interface.
- Copy and paste an image or screenshot directly into the prompt text box.
- Paste directly the url of an image published on the Internet or via the Midjourney.com or Discord interface.
Building the character’s body

Of the first 4 figurative proposals we received, we were immediately drawn to the second character, with his pointed nose and three questions.
We’re going to select this starting image and then gradually enlarge it downwards, using the interface below, to create the whole body.

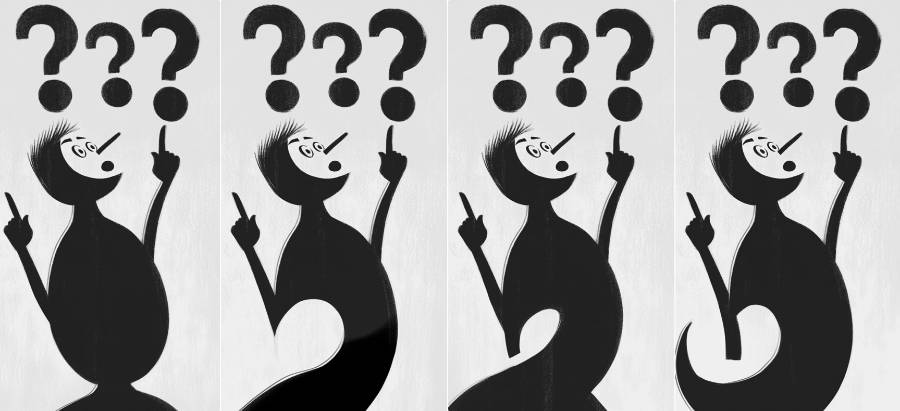
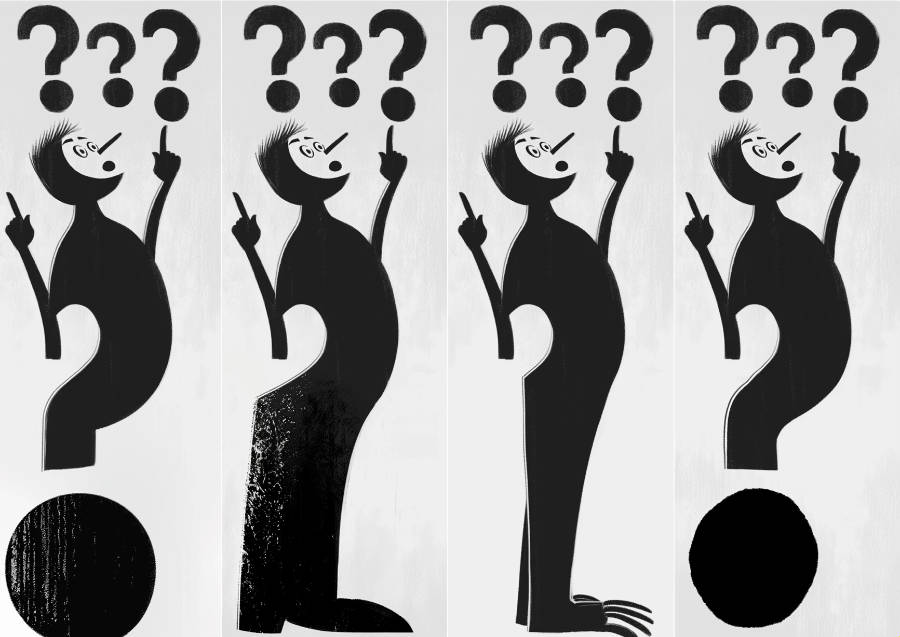
In the first step, we select the fourth image on the right and enlarge it downwards several times.
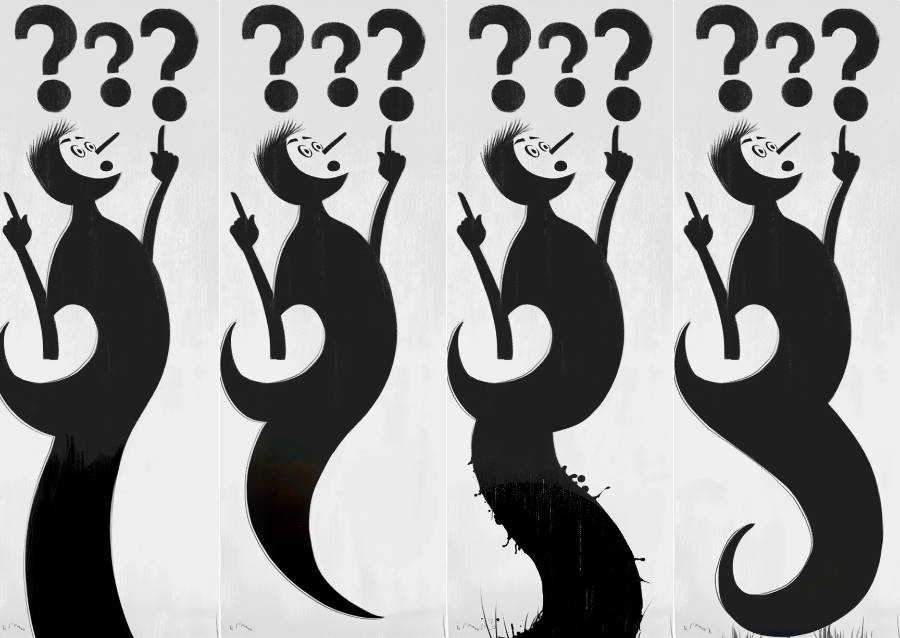
The result is these 4 renderings, in which Midjourney has preserved the spirit of our character.
The little peak at the back encourages us to dress him in a frock coat to create the lower part of the character.
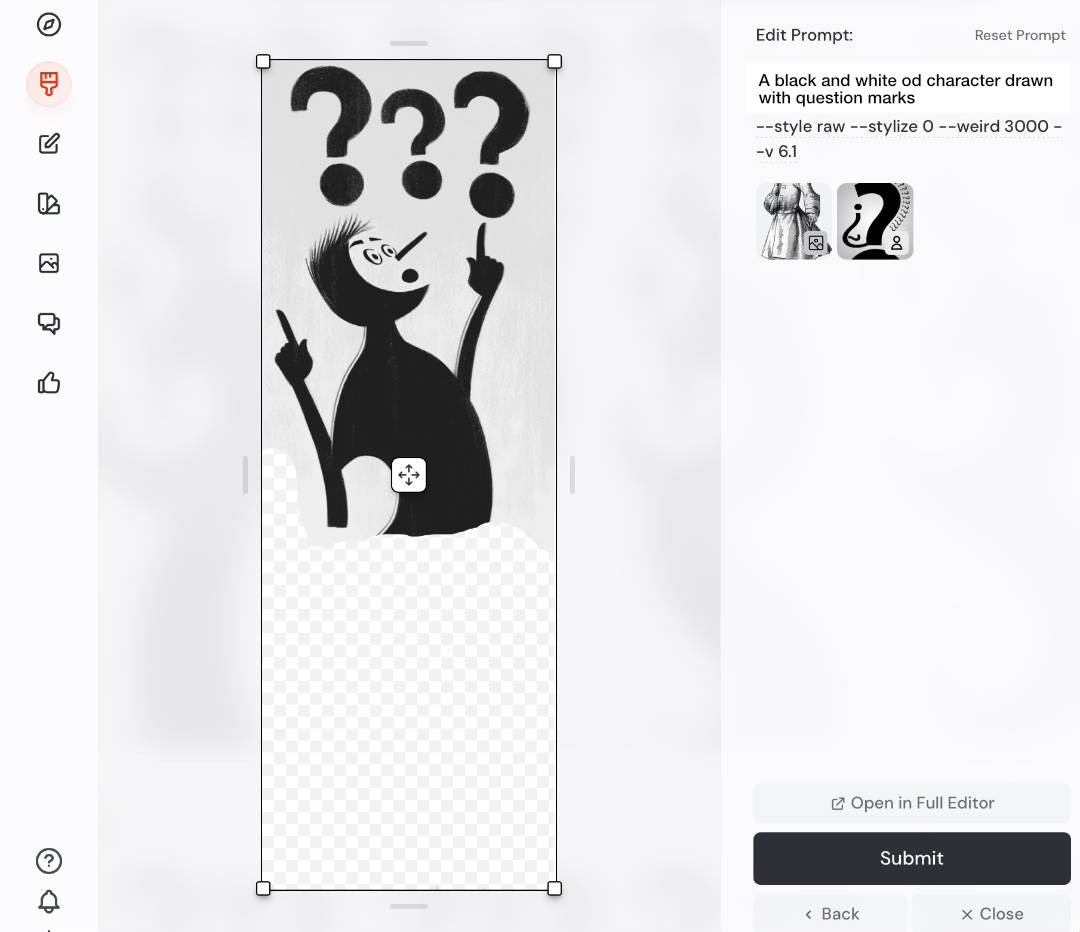
Using the “Editor” mode (Discord’s equivalent of Vary Region), which consists of replacing part of the image and updating the prompt, we submit another reference image featuring legs under a frock coat.
Our character is finally whole, and the reference to question marks, always present on some renders, produces some rather amusing alternative results.
We’ll take the second rendering and modify it one last time.
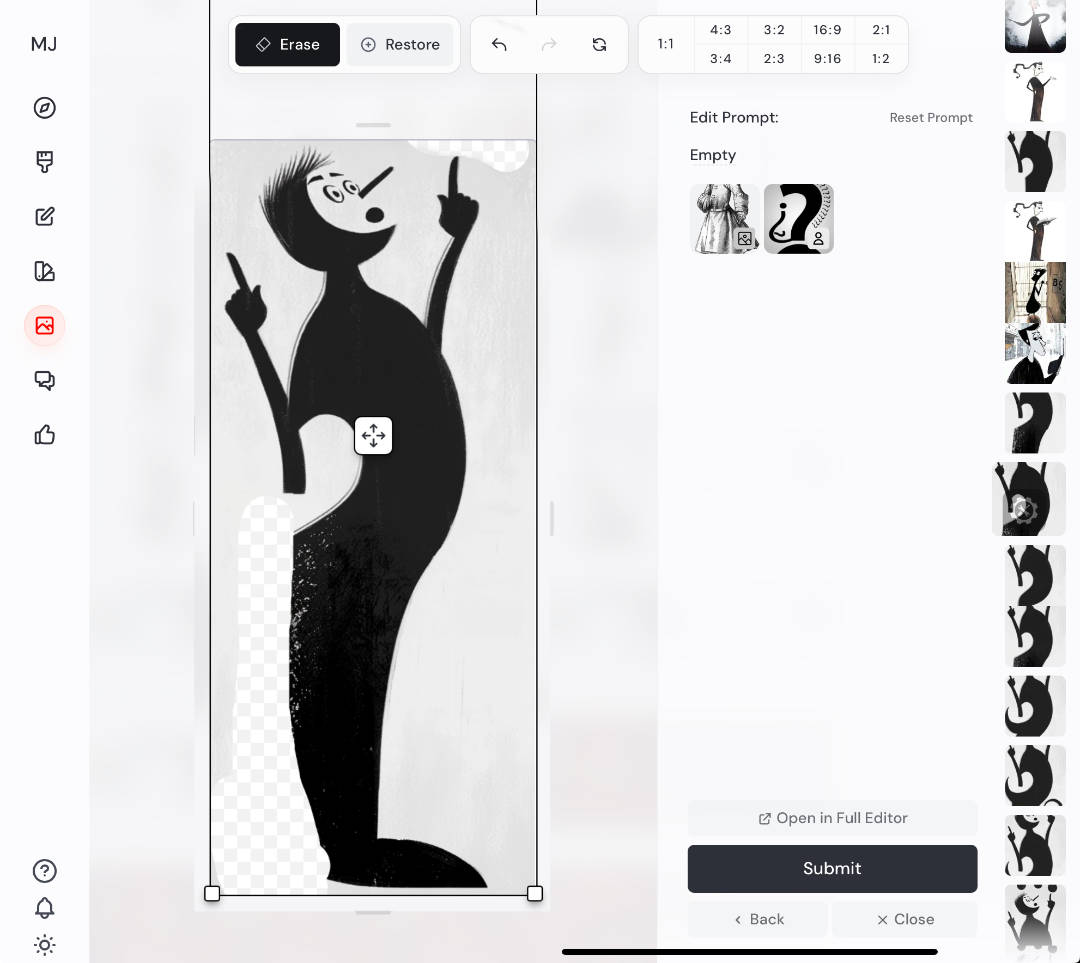
Still in “Editor” mode, we suggest this final silhouette correction to Midjourney, but the AI is unable to refine the legs according to our indications, despite ten or so attempts to modify the prompt…
Deleting this area with the “empty” prompt doesn’t work either.
There’s also an unlikely censure from Midjourney, which refuses to re-render when we use the terms “refined legs” or “slender legs” in prompts!
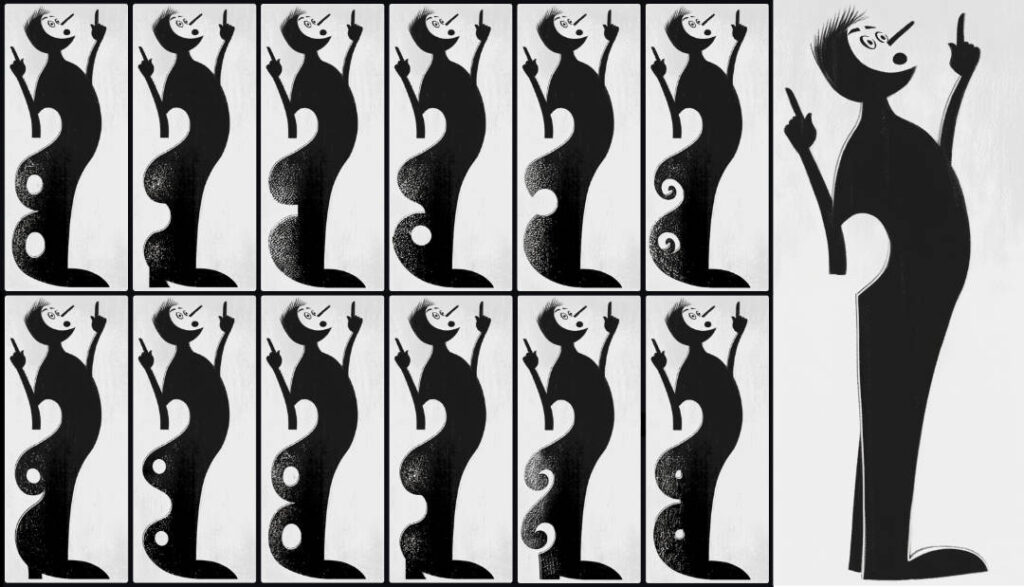
In the end, as the new iterations we produced became more and more delirious, we started from another image to complete (right) our first full-length illustrated character.
We decided that our future character, who would emerge from these renderings, would be called “Rodingoth” (a French play on the word “redingote”, which means frock coat).
The different roles of images imported into Midjourney
Midjourney lets you add external images to help the AI.
These images often prove more effective at expressing an idea than our text prompts.
The 3 types of reference images in Midjourney
- The “prompt” image: this is the default mode when you import an image to complement your text prompt.
The content of the image acts as an additional description to your prompt, helping Midjourney to better understand your request. - The style reference: here Midjourney draws inspiration from the image supplied, capturing its mood, colors and rendering or illustration style.
- Character reference: this mode lets you use a character or recurring element as often as you like in Midjourney.
Using your recurring Midjourney illustrated character
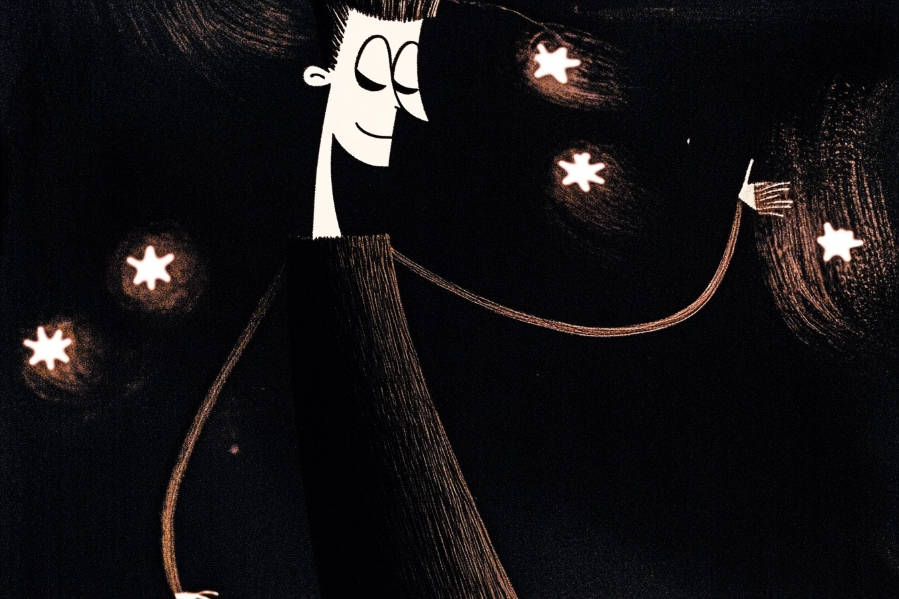
Once you’ve created your character with Midjourney, preferably in its entirety, you can use the resulting image as a reference for all future renders.
2 main methods are possible:
- Copy your character’s url from either the Midjourney site or Discord, then paste it into your prompt as a “character reference”.
- Retrieve the “seed” of the recurring character’s image (equivalent to –seed followed by a value in Discord), which is an encrypted code generated by Midjourney for each image rendered.
Keeping this code, which corresponds definitively to your character, and using it in your future prompts will automatically reappear your reference image corresponding to the character.
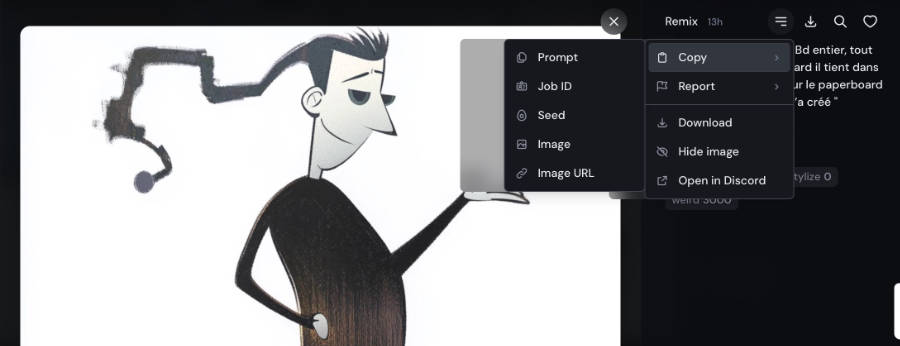
Copying the URL or “seed” of an image is very easy in the web interface.
For anime-style illustrations, you can select the “niji” rendering mode instead of the default Midjourney mode.
How did our Rodingoth character come about?
By submitting the image on the left (below) as a “character reference” to Midjourney, the AI should have generated illustrations with this character, but for reasons that escape us, it recreated new ones.
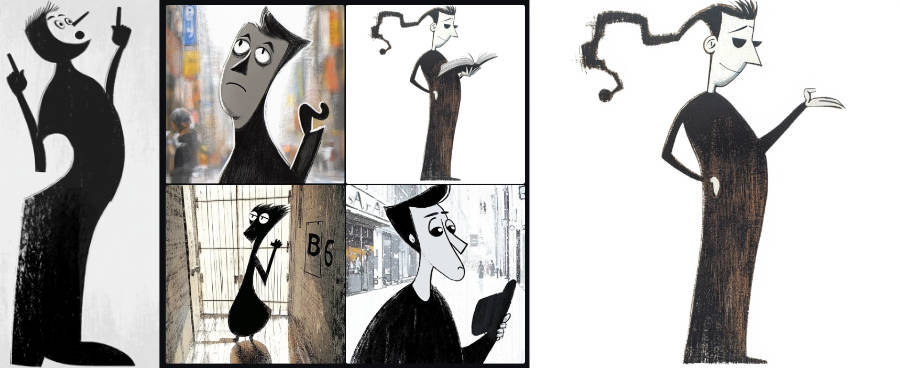
From the 4 very different proposals (center) we received from our selection, we chose the second character.
We removed his book before considering him as our reference illustration for Rodingoth.
Although we’ve strayed a long way from our original image, we’re finally able to apply this new silhouette to a number of situations.
Reuse of the Rodingoth character
For Midjourney to be able to reproduce an illustrated character more easily, it is imperative that the character has been generated entirely by AI beforehand.
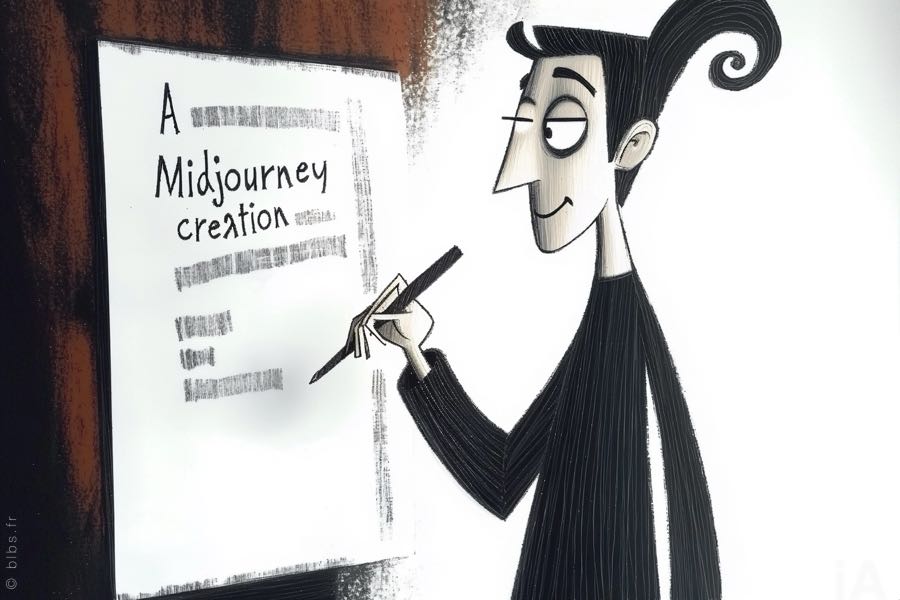
This illustration with Rodingoth was created from a prompt associated with 4 decisive images:
- the character’s reference image
- An image giving the overall style of the illustration
- An image to indicate the position in front of the flipchart
- An image to help Midjourney correct his successive felt-holding failures.
Below is the complete prompt, and note the 3 types of symbols at the bottom of the thumbnails.

- The small character symbol corresponds to our referent character ( –cref in Discord).
- The small paperclip symbol corresponds to the rendering style. ( –sref in Discord)
- The small image symbol completes the text prompt.

In this example, we simply used Rodingoth as a “character reference” to put him behind the wheel of a car.
With no styling cues from us, Midjourney decided on his appearance and placed him in a photo-realistic environment.

Here, we’ve provided our Rodingoth template, both as a “character reference” and as a “style reference”, in order to retain the treatise specific to our illustration.
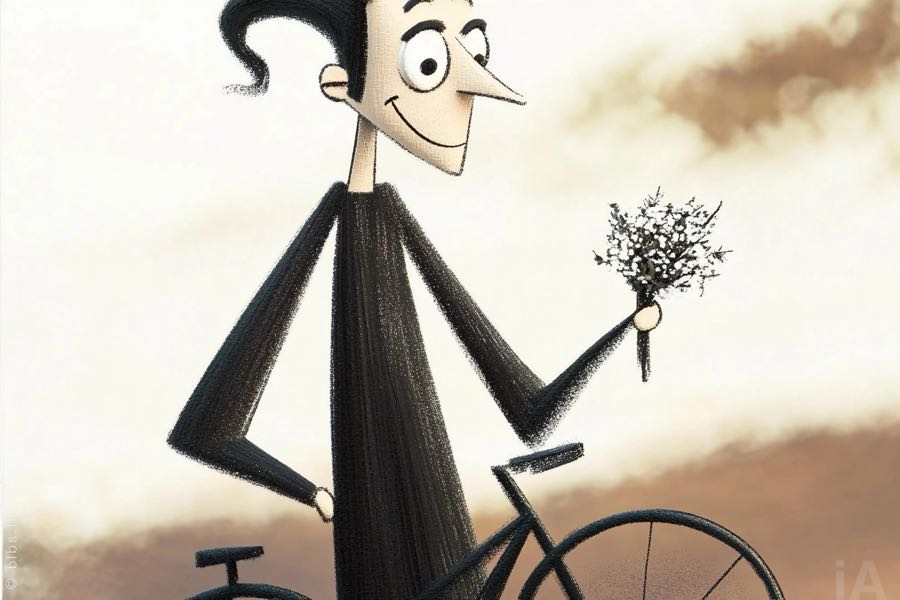
In this example, we’ve used the 3 different possibilities for providing Midjourney with reference images, style, character, and “prompt” images of a bicycle and a man holding a bouquet of flowers.
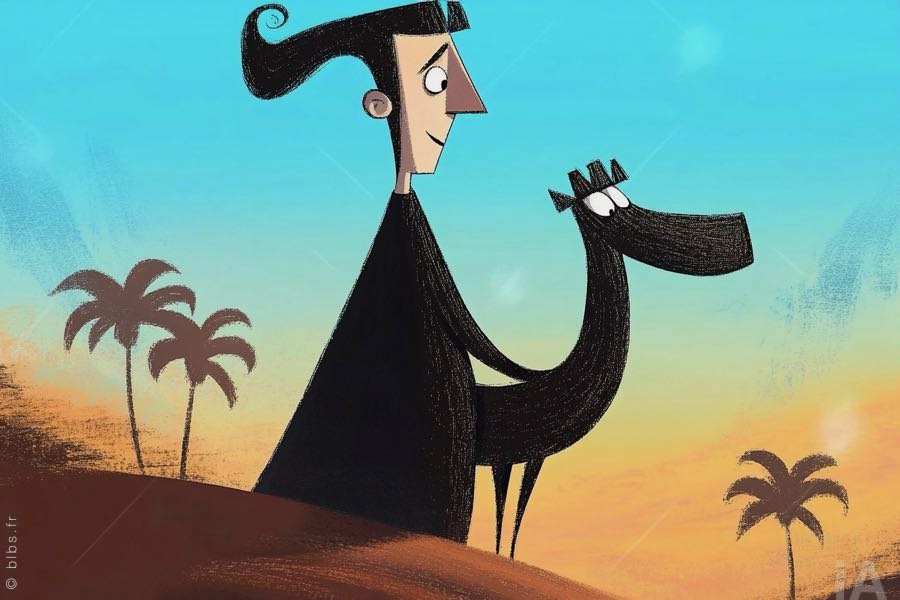
Finally, we’ve chosen this image of Rodingoth in the desert with an even different treatment.
This tutorial was produced by the french Lyon-based design studio A Kom Z.
Midjourney web interface
The essentials of Midjourney’s image creation tools are shown in the screenshot below.
It’s simpler and just as effective as the version on Discord, although advanced users can continue to add their favorite commands directly.
The prompt window
The top prompt window lets you insert your prompt and as many reference images as you like.
Once you’ve inserted an image using the insertion methods described above, you can select the pictograms at the bottom of each thumbnail to apply its reference type.
A small lock on the right-hand side makes it easy to store images for several successive prompts.
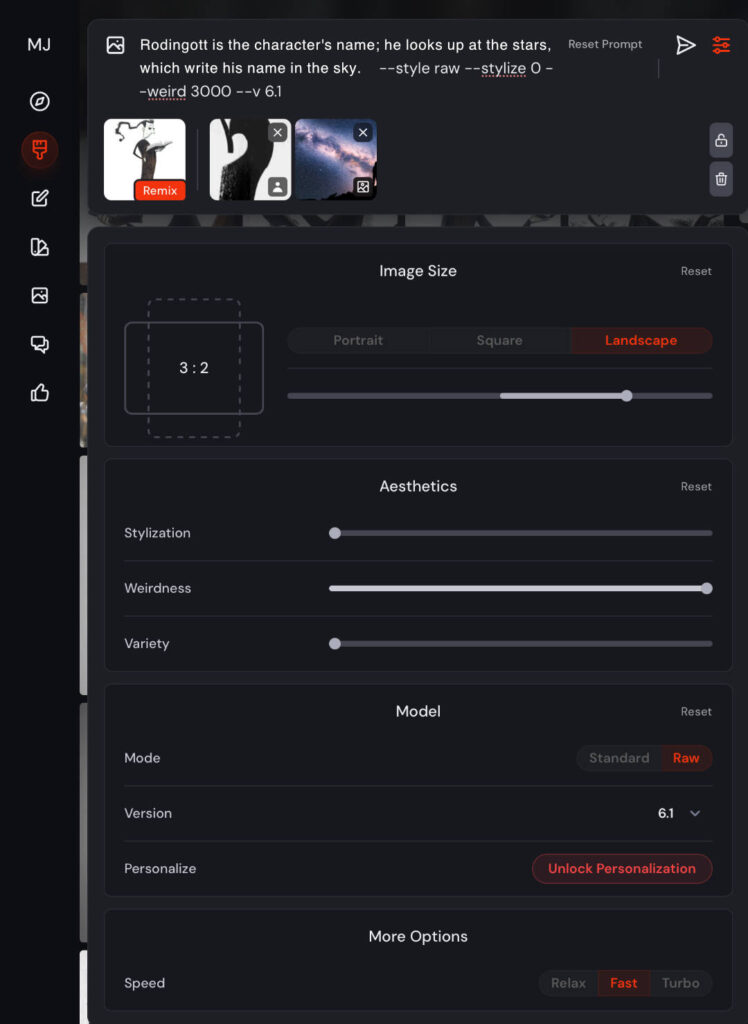
The rendering window
You’ll find all the usual Midjouney settings: see the section of our article presenting the features of the Midjourney interface on Discord.
Note: a drop-down menu allows you to select the “niji” renderer, dedicated to anime-style illustrations, instead of the Midjourney renderer.
©The studios blog : external links to this article are authorised and appreciated, but any use of textual content or images from this site is subject to authorization.


